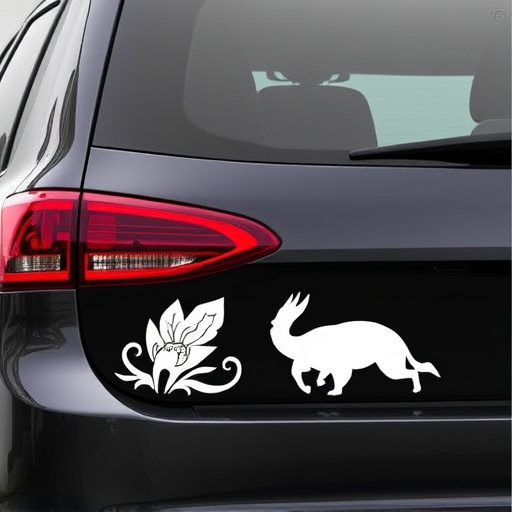


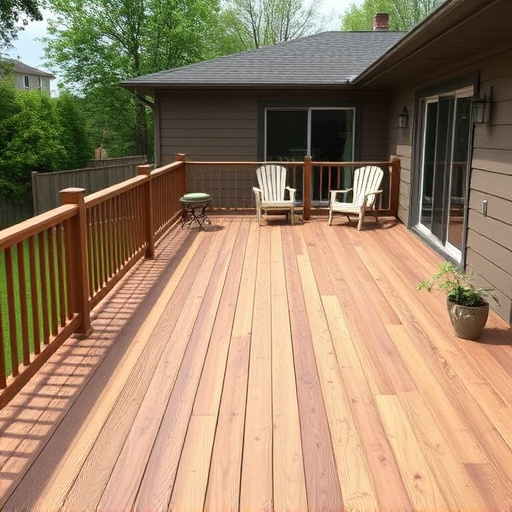

Wall graphics installation requires thorough preparation, including cleaning walls and assessing surface conditions for optimal adhesion. Professionals use precision techniques and suitable materials like vinyl or printed film for indoor displays. For outdoor spaces, Paint Protection Film (PPF) enhances UV and heat protection. Existing decorations are removed, and stubborn adhesive is eliminated using specialized removers or heat tools to ensure correct adherence and a lasting, professional finish.
Are you planning a wall graphics installation but unsure about removing old graphics? This guide is your solution. Understanding the process involves several crucial steps, beginning with preparing your surface. We’ll walk you through effectively removing old graphics, ensuring a fresh canvas for your new wall art. Learn application tips for optimal results and transform your space effortlessly.
- Understanding the Process of Wall Graphics Installation
- Preparing Your Surface: Removing Old Graphics
- Application Tips for Optimal Results After Removal
Understanding the Process of Wall Graphics Installation
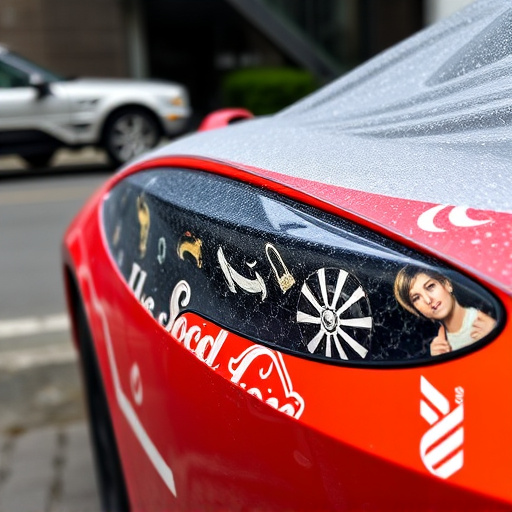
The process of installing wall graphics involves several steps designed to ensure a clean, lasting finish. It begins with thorough preparation of the wall surface. This includes cleaning to remove dust, grease, and other contaminants, as well as patching any holes or imperfections for a smooth base. A key step is understanding what lies beneath; older graphics, paint, or even ceramic coating can affect adhesion. Once the surface is ready, a professional applies the wall graphics using precise techniques, ensuring the design aligns perfectly with the desired layout. This craftsmanship is vital to achieving a high-quality, eye-catching display that enhances any space.
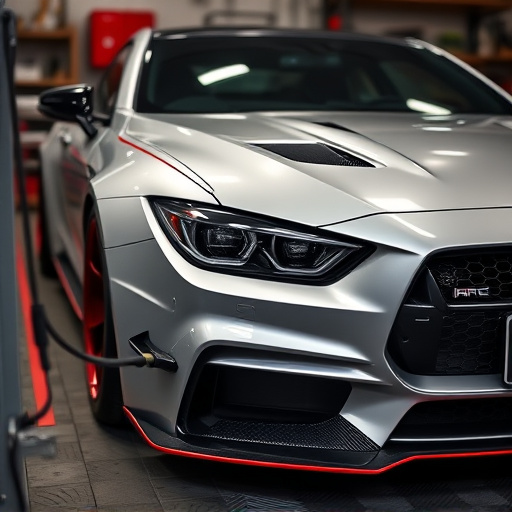
For optimal results, consider the material used—wall graphics come in various types, from vinyl to printed film—as this impacts application and longevity. A professional PPF (Paint Protection Film) installation can also play a role, offering protection against UV rays and heat rejection, which is especially beneficial for outdoor spaces or areas with significant sunlight exposure.
Preparing Your Surface: Removing Old Graphics
Before you embark on the exciting journey of installing new wall graphics, preparing your surface is a crucial step that cannot be overlooked. The process starts with meticulously removing any old graphics or decorations that might be adorning your walls. This is especially important if you’re planning a sophisticated wall graphics installation, aiming for a seamless and professional finish.
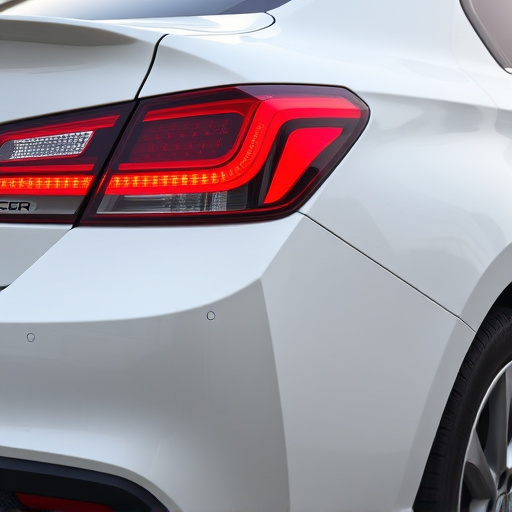
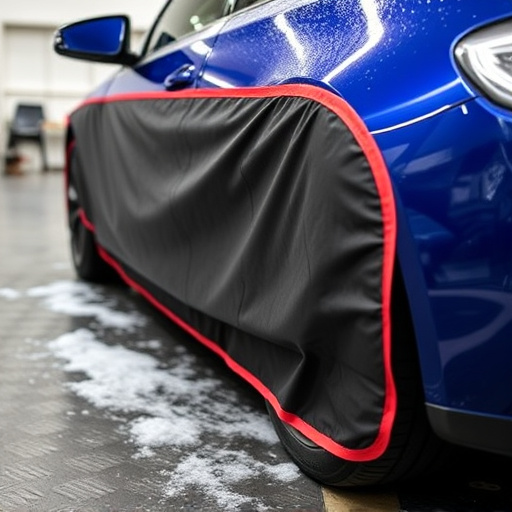
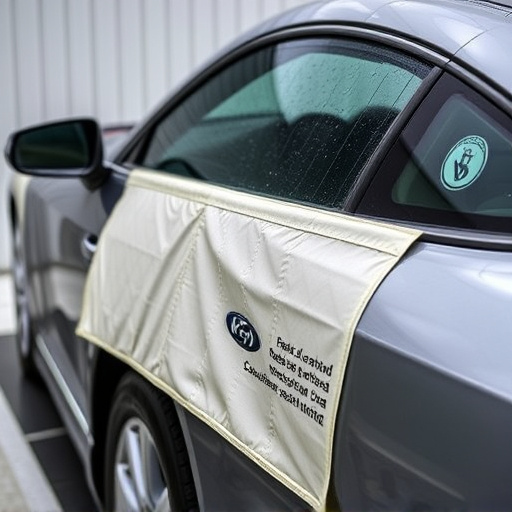
One effective method to achieve this is by using specialized adhesive removers designed for safe and efficient removal of various types of graphics. For more robust materials like vehicle wraps or scratch protection films previously applied as premium automotive services, consider using heat-based tools to soften the adhesive, making it easier to peel away. This ensures that your new wall graphics will adhere correctly and create a lasting impression.
Application Tips for Optimal Results After Removal
After successfully removing old graphics or stickers, it’s crucial to prepare the surface for a seamless wall graphics installation. Start by thoroughly cleaning the area with a soft cloth and a mild detergent to ensure no residue remains. This step is essential as even the slightest traces of grime can affect the adhesion of new graphics.
For optimal results, consider the surface condition. Smooth, clean walls are ideal for wall graphics installation, but textured or painted surfaces may require additional preparation. In cases of stubborn adhesive remnants, using a specialized remover or a heat gun (with caution) can help. For those interested in car customization or automotive detailing, this process is similar to that of applying vinyl wraps, ensuring a professional and long-lasting finish.
When preparing for a new wall graphics installation, removing old graphics is a crucial step that ensures optimal results. By carefully following the steps outlined in this guide, from understanding the process to proper surface preparation and application tips, you’ll create a fresh canvas ready for your next design masterpiece. Remember, a smooth removal process paves the way for a flawless wall graphics installation.