


For successful wall graphics installation, follow these steps:
1. Clean & Prepare Surface: Sand older or imperfect walls, check for moisture, and dry thoroughly.
2. Repair Imperfections: Fill cracks, holes, or irregularities before cleaning with mild soap, warm water, and a microfiber cloth.
3. Primer Application (Optional): For enhanced adhesion, use professional-grade primer.
4. Surface Preparation for Vehicles: Remove decorations, wipe down with a soft brush/cloth, ensuring no dust or debris remains.
Looking to transform your walls with wall graphics but unsure where to start? This comprehensive guide offers essential tips for a successful, long-lasting installation. From preparing your wall surface to finishing touches, learn how to choose the right application method, ensure precise placement, and maintain your graphics for years to come. Discover expert advice on achieving vibrant, durable results with wall graphics installation.
- Preparing Your Wall Surface for Wall Graphics
- – Checking wall condition and cleanliness
- – Removing existing decorations or debris
Preparing Your Wall Surface for Wall Graphics
Before installing any wall graphics, ensuring your wall surface is clean, smooth, and free from any debris or dust is paramount. A proper preparation process involves sanding the wall to create a rough texture that allows the adhesive to grip better. This step is especially crucial for older walls or those with paint or wallpaper imperfections.
Additionally, checking for moisture issues and ensuring the wall is dry is a critical aspect of successful wall graphics installation. Moisture can cause graphics to peel or bubble over time. For best results, consider using a professional-grade primer to create a fresh canvas, enhance adhesion, and ensure your custom graphics or vinyl wraps last for years to come.
– Checking wall condition and cleanliness

Before installing wall graphics, it’s crucial to assess the condition and cleanliness of the wall surface. A well-prepared wall ensures that your graphics will adhere properly and last for years. Start by inspecting the wall for any cracks, holes, or uneven surfaces. Repair or fill these imperfections using appropriate materials to create a smooth base.
Next, thoroughly clean the wall with mild soap and warm water to remove dust, grease, and other contaminants. For best results, consider using a microfiber cloth to ensure no residue is left behind. This step is especially important if you’re installing graphics over older paintings or stains, as proper cleaning ensures a strong bond between the graphic and the wall. Proper preparation, including checking for damage and cleaning, sets the stage for successful wall graphics installation.
– Removing existing decorations or debris
Before installing any wall graphics, it’s crucial to prepare the surface thoroughly. This involves removing all existing decorations, posters, or any debris that might interfere with the adhesion of the new graphics. Start by gently peeling off any loose items and using a soft brush or cloth to wipe down the wall, eliminating dust or dirt particles. A clean, smooth surface is essential for long-lasting results during wall graphics installation.
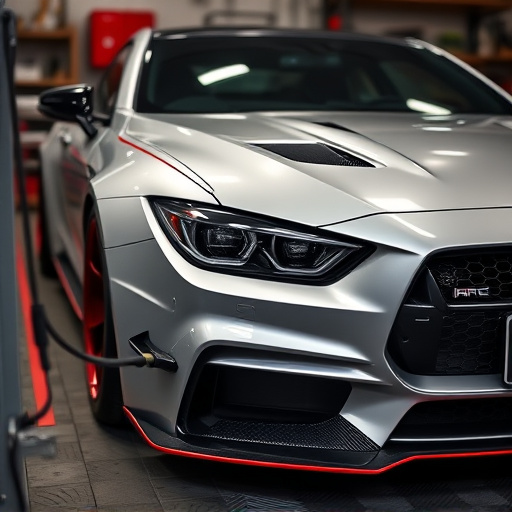
For those interested in car customization, professional PPF (Paint Protection Film) installation often requires a similar preparation process to ensure optimal adhesion. This step is vital to achieving not just aesthetic appeal but also practical benefits like heat rejection, which can protect the vehicle’s finish from UV damage and reduce the need for frequent detailing.
When installing wall graphics, proper preparation is key to achieving long-lasting results. By ensuring your wall surface is clean and free of debris, you create an ideal canvas for your chosen design. Following these simple steps guarantees a seamless application process, allowing you to transform your space into a vibrant and eye-catching display that will endure over time.