


Thoroughly clean and prepare wall surfaces before installing wall graphics. Design visually striking, goal-oriented graphics for maximum impact. Use small sections, tools, and precision cutting for a professional finish. Correctly installed wall graphics offer enhanced visual appeal and protection.
Looking to transform your walls with stunning DIY wall graphics? This comprehensive guide will empower you to install them like a pro. From preparing your wall surface to choosing the perfect design, we cover it all. Learn how to ensure cleanliness and check for optimal conditions before application. Discover expert tips for achieving precision and a professional finish. Master the art of wall graphics installation with these easy-to-follow steps.
- Prepare Your Wall: Cleanliness and Surface Check
- Choose and Design Wall Graphics for Optimal Impact
- Application Tips: Achieving Precision and Professional Finish
Prepare Your Wall: Cleanliness and Surface Check

Before you begin installing your wall graphics, ensuring your wall is clean and prepared is paramount to a successful DIY project. Start by dusting and vacuuming the surface to remove any debris or dirt. This step is crucial, as even the slightest imperfections on the wall can affect the final look of your graphics. A thorough cleaning also helps with adhesion, guaranteeing that your wall graphics stick firmly in place for an extended period.
Additionally, examining the wall’s surface is essential. Look out for cracks, bumps, or any uneven areas. If present, these irregularities might require patching and priming before proceeding with the installation. Properly prepared walls ensure not just a visually appealing finish but also contribute to the longevity of your wall graphics, similar to how automotive detailing and paint protection film protect vehicle surfaces.
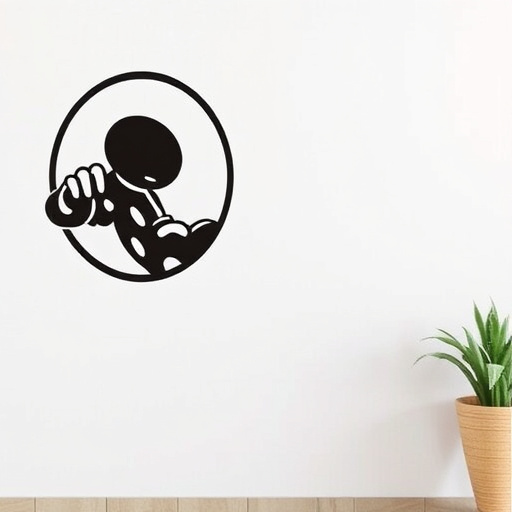
Choose and Design Wall Graphics for Optimal Impact

When designing wall graphics for installation, prioritize visual impact to ensure your message or aesthetic is instantly recognizable. Consider the purpose of the graphics—whether it’s branding, advertising, or simply adding a striking accent wall—and choose designs that align with this goal. Utilize eye-catching colors and contrasting elements to make your graphics stand out. Remember, less can often be more; simple yet bold graphics tend to have a greater impact and are easier to install correctly.
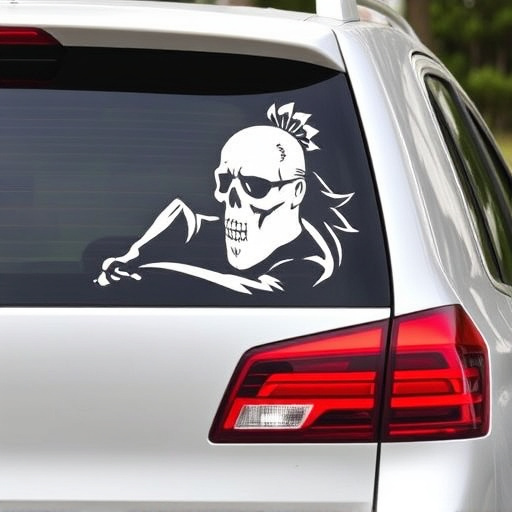
In addition to aesthetics, think about the placement of your wall graphics. The right location can enhance the overall effect, drawing attention where you want it. For example, placing a graphic near a window (a technique often seen in car customization or even interior design with window tinting or paint protection film) can create an eye-level focal point that captures both passersby and occupants’ attention. Ensure your chosen design translates well at various viewing angles to maximize its impact.
Application Tips: Achieving Precision and Professional Finish

Achieving precision and a professional finish when installing wall graphics is key to enhancing your space like a pro. Start by preparing your surface: ensure it’s clean, dry, and free from any debris or dust. This step is crucial for a long-lasting adhesion. Use a slightly damp cloth to wipe down the area, especially if it has been a while since it was last cleaned.
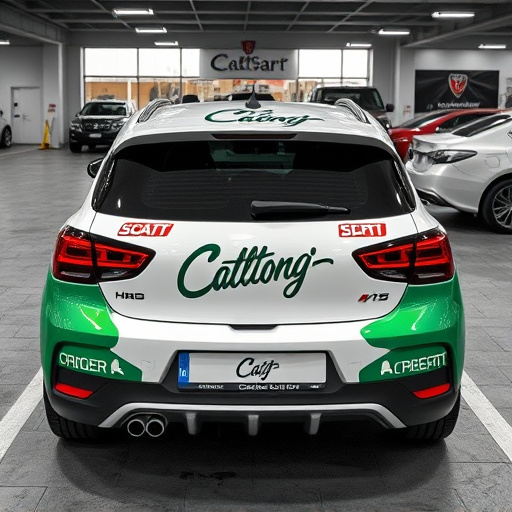
When applying the graphics, work in small sections to maintain control and accuracy. Use a smooth, flat tool like a spatula or a credit card to gently press each section into place, ensuring no air bubbles are trapped beneath. For tricky areas or tight corners, consider using a razor blade for precise cutting. Remember, patience is paramount; take your time to avoid mistakes that could impact the final look, especially when dealing with intricate designs. Properly applied wall graphics can transform any space, adding character and visual appeal, while also offering benefits like UV protection and ceramic window tinting for enhanced vehicle enhancement.
Successfully installing DIY wall graphics requires a few key steps, from preparing your wall surface to choosing the right design and applying with precision. By following these simple guidelines on cleanliness, design, and application techniques, you can transform any space into a visually stunning masterpiece without breaking the bank. Embrace your creativity and take pride in achieving a professional-looking wall graphics installation that adds personality and depth to your environment.